March 27, 2026 — Maverick Pools
One of the more disorienting things about building a pool is that you’ve never done it before. You don’t know what it’s supposed to look like at each stage, whether things are on track, or what to make of the various things happening in your backyard.
This post covers what actually happens during a gunite pool build, phase by phase, so you know what to expect.
Construction doesn’t begin until all permits are in hand. Pre-construction — covering design, engineering, and permitting — typically runs 2–3 weeks on a clean, complete submission. Timelines vary by jurisdiction, but a well-prepared permit package moves quickly.
While permits are in review, we’re doing pre-construction coordination: finalizing the subcontractor schedule, ordering equipment with appropriate lead time (Hayward equipment typically ships quickly, but custom-specified items may have longer waits), and confirming the construction timeline with you.
You’ll receive a construction start date before anything happens. Equipment pad placement is confirmed, utility locates are completed, and access logistics are sorted before the excavator arrives.
Excavation is the most dramatic phase — in one or two days, your yard goes from flat to a hole in the ground. The excavation crew digs to the engineer-specified depth and shape. In straightforward conditions, this happens quickly. Rocky soil, high water table, or tight access can slow it down.
What you’re seeing: a large, rough excavation that looks nothing like a pool yet. The edges are rough and the shape is approximate — precision comes later.
One note on excavation debris: soil has to go somewhere. In most cases, trucks haul it off site. If your property has somewhere to stage it, that can reduce hauling cost, but most residential sites don’t.
After excavation, the steel crew forms the rebar cage. This is the structural skeleton of the pool — rebar is bent, tied, and positioned to the engineer’s specifications for spacing and coverage.
What you’re seeing: a grid of steel rebar lining the pool floor and walls, positioned on small plastic spacers that hold it off the soil surface. Plumbing sleeves and main drain housings are set at this stage. The steel frame will be inspected by the building department before gunite is applied.
This inspection is non-negotiable and cannot be skipped. We schedule the inspection as soon as steel is complete and don’t proceed until it’s cleared.
Gunite application is the most impressive single day of construction. The crew arrives early with the hose truck, and by end of day the pool shell exists.
The nozzleman works around the shell, building up the concrete to the specified thickness — typically 6–8 inches. The surface left behind is rough and uneven; it will be smoothed in subsequent steps.
After gunite, the shell needs to cure. Crews will wet the shell with water multiple times per day for 7–14 days. You may see water hoses set up in your yard running periodically. This is intentional — proper curing is what gives the shell its strength. Do not worry if nothing else happens during this period.
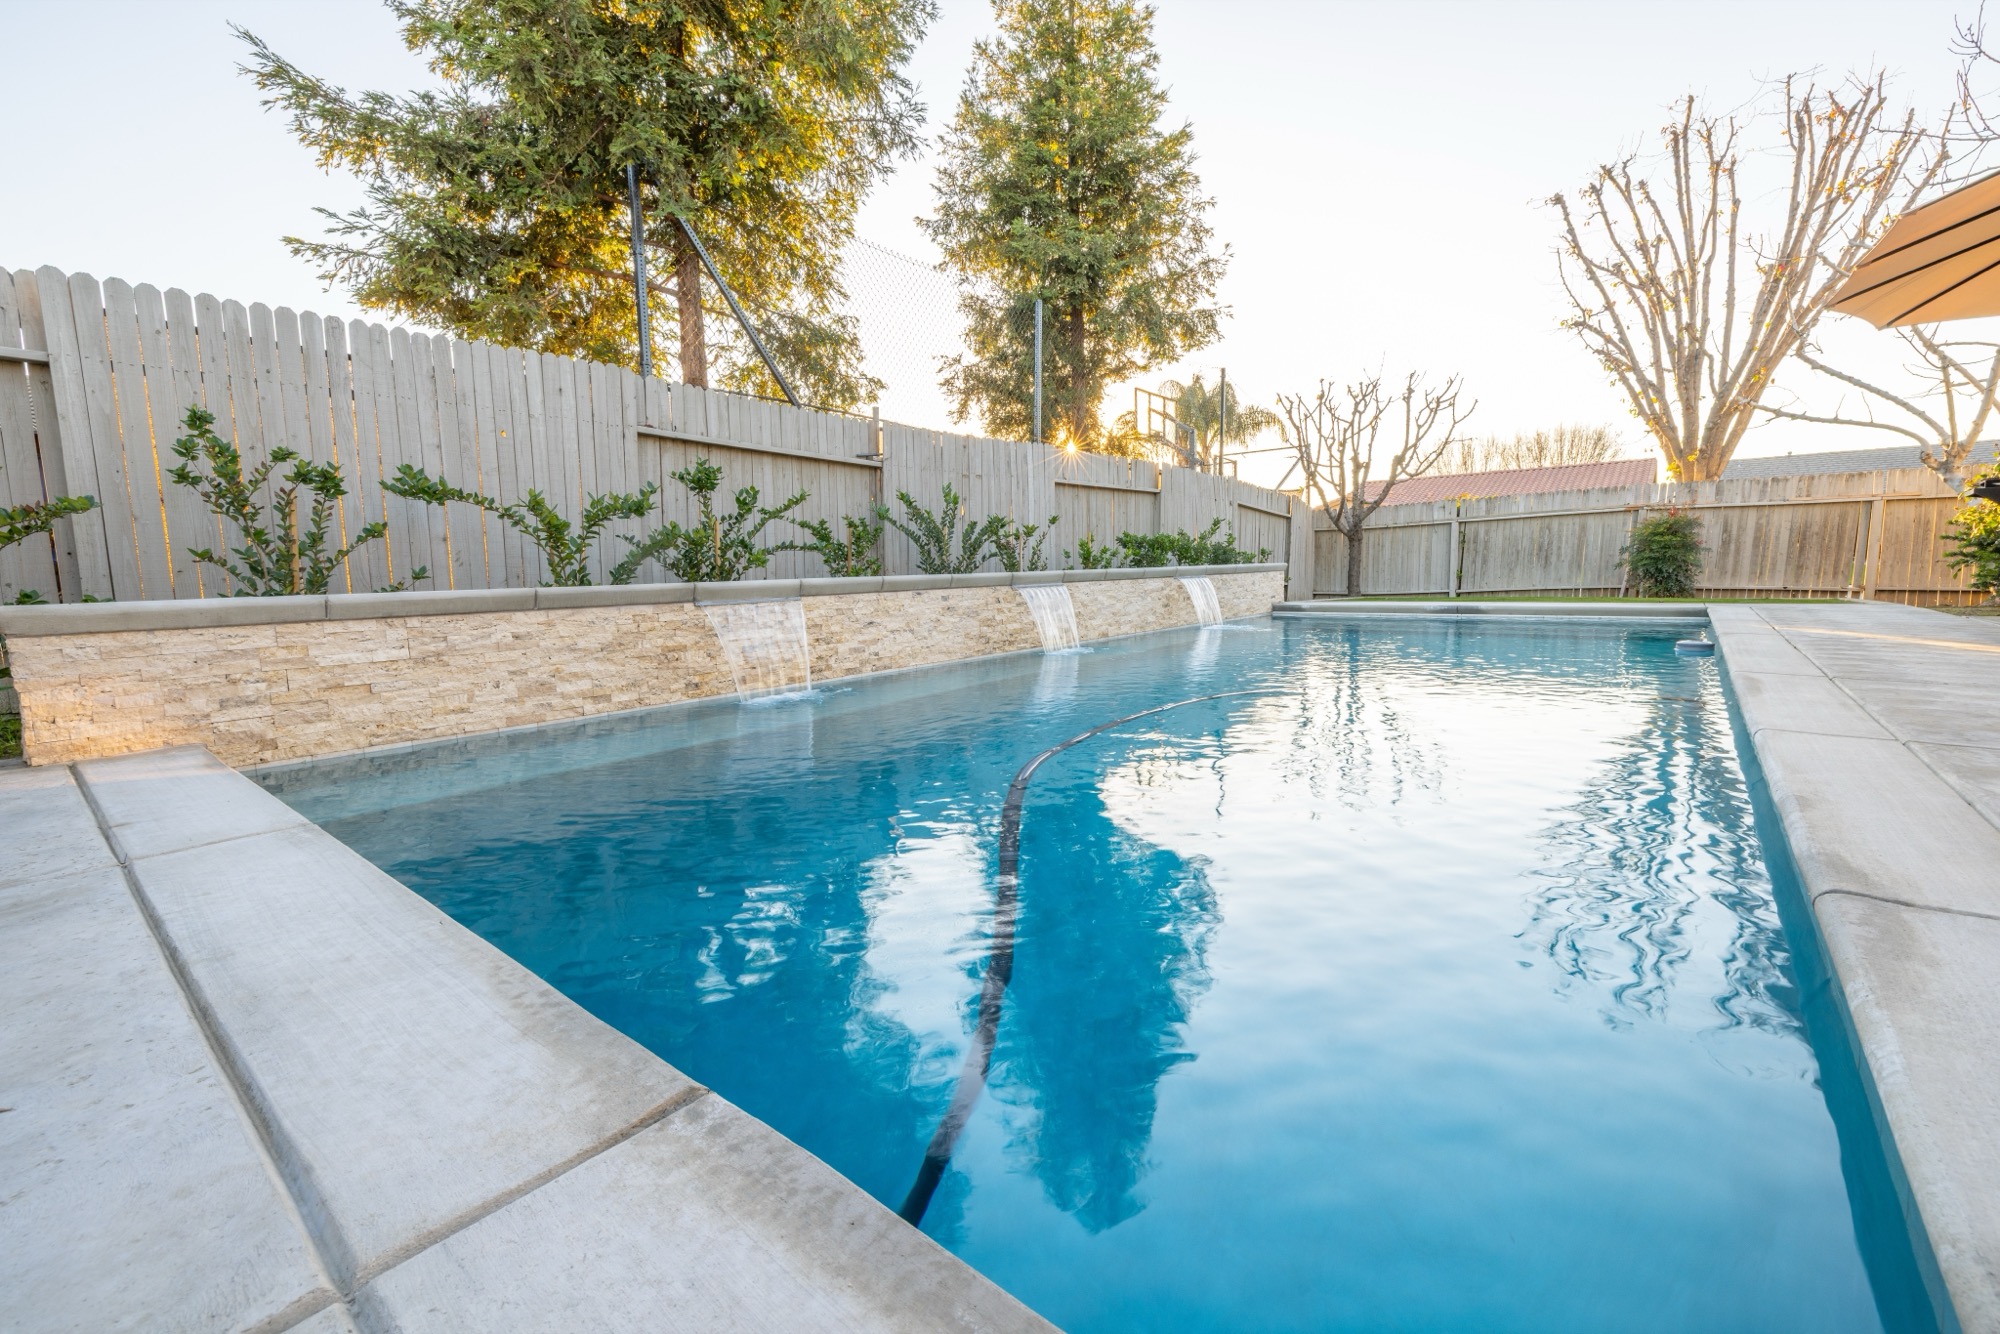
After the shell has cured, work resumes on the surfaces: waterline tile, coping, and decking.
Tile is installed at the waterline — this is the decorative band you see at the water surface. Glass tile, ceramic tile, and stone tile are common choices.
Coping is the cap material that transitions from the pool shell to the surrounding deck — typically a stone, concrete, or paver material.
Decking is the surrounding surface. Broom-finish concrete is standard. Pavers, travertine, exposed aggregate, and stamped concrete are premium options that take longer to install.
This phase is visible and exciting — the design starts becoming recognizable.
Concurrently with or shortly after decking, the equipment installation happens. The Hayward equipment pad goes in — pump, filter, heater, salt cell if included, automation controller. All plumbing lines are connected and pressure-tested. Electrical is run from the main panel to equipment and underwater lights.
Electrical inspection is required before the pool can be filled.
Interior plaster (or aggregate finish) is the final major construction phase. The plaster crew preps the cured gunite surface, applies the finish material, and trowels it smooth. This work is fast — a pool can be plastered in a day.
The pool is filled immediately after plaster application. Water must cover the plaster continuously until curing is complete — the pool cannot be allowed to dry out in the first 28 days.
Startup chemistry is critical in the first month. The startup process involves careful chemical introduction, aggressive brushing (daily for the first two weeks), and multiple water tests to ensure the new plaster cures properly. We walk you through the startup protocol at handover.
Final inspections cover the completed pool — building, electrical, and health department. We schedule all required inspections and coordinate with inspectors.
Once inspections are complete and startup is underway, we do a final walkthrough with you: we review every system, show you how to operate the Hayward equipment and OmniLogic automation, and confirm everything is working correctly.
You get an app, a manual, and a pool.
Total construction timeline from ground break to swim: typically 8–12 weeks in Bakersfield, 8–14 weeks in Idaho. The longer end of these ranges reflects weather delays, inspection scheduling, or more complex designs. We keep you updated throughout — you’re never waiting and wondering what’s happening.
Every project starts with a conversation. We respond within one business day.